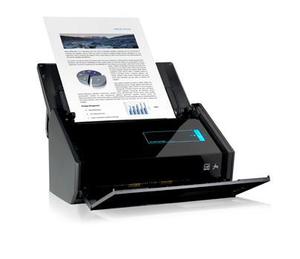
The ScanSnap ix500 Upgrade

I purchased my Fujitsu ScanSnap 1550m from Amazon about 7 years ago. I’ve scanned thousands of pages, photos, business cards and receipts with it. In those 7 years I replaced the roller once. So, when ScanSnap announced the new ix500 model I knew it would be great.1
It didn’t take long for me to convince myself to upgrade. It required one single update to the software that enabled wireless scanning to my Mac.
I’ve used the ScanSnap ix500 for 3 weeks and it’s great even if it’s not a revolution when compared to the older 1500M.
What’s the Same?
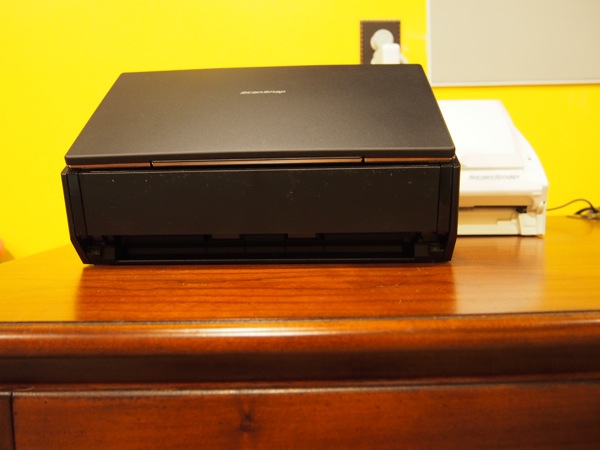
The obvious difference between the two models is the color. The ix500 is only available in black. I preferred the less reflective white plastic on the 1500M but I’ve managed to cope.
The size and shape of the two devices are almost identical. They both close-up to become compact and dense little boxes of magic.

They also both use nearly identical software, which is by far the best scanning software I’ve used. All of the stuff I loved about my 1500M is there in the ix500.
Both devices create high resolution PDFs with OCR embedded data by tapping one button on the scanner or choosing the quick scan menu option from the OS X dock.2
What’s New?
The ix500 can connect to a Mac with either USB 3.0 or WiFi. However, to setup the WiFi connection, I had to first connect by USB and then use the included WiFi connection software. That initial setup was pretty easy. My only complaint is that I’ve had to run the connection software a couple of times to re-establish the connection after shutting down the ScanSnap. No big deal, except it means I have to dig out the cable and carry the scanner back to my desk. Boo-hoo.
Scanning speeds on the ix500 feel impossible. It’s reported as 25 double-sided color pages per minute. In practice, I scan mostly black and white and often single sided. It feels significantly faster than the 1500M.
The biggest reason to get the ix500 if you already own the 1500M is for wireless scanning. Once configured on a WiFi network, the ix500 simply needs a power cord and you can scan right to your Mac with the push of a button. The Mac ScanSnap software automatically receives the scans and files them away as configured. For example, by default I have the ScanSnap scan to a folder. I can load up the scanner across the room on an out of the way shelf. By the time I get back to my desk all of the searchable PDF’s are right where I expect them. This also works with scanning directly to Evernote.
You can also scan to an iOS device with the free ScanSnap app.3 This is a pretty great feature but the software feels a bit clunky. The ScanSnap scans the document to the iOS app which can then be used to send the document to any other app that supports PDF.
What’s Missing
My biggest complaint with the ScanSnap is the WiFi scanning. Ideally the setup could be done without a computer. Perhaps the setup process could be initiated over Bluetooth from an iOS device. That would certainly make the ScanSnap a great solution for an iOS-only house.
I’d also like the option to choose the scan destination right from the scanner, but that’s a pretty tall order.
Conclusion
The addition of WiFi scanning to the ScanSnap is terrific and this initial implementation works well. Maybe in another 7 years I’ll get a new one that doesn’t even require a Mac. Until then I’m pretty happy with the ix500.
Fujitsu ScanSnap ix500 | $420
-
This post may contain affiliate links and peanuts. ↩︎
-
Which, of course, should always be at the bottom of the screen for civilized people. ↩︎
-
The connection between all devices and the ScanSnap is secured by a pin-code. There’s little worry that you will accidentally scan a document to someone walking outside your house. ↩︎
